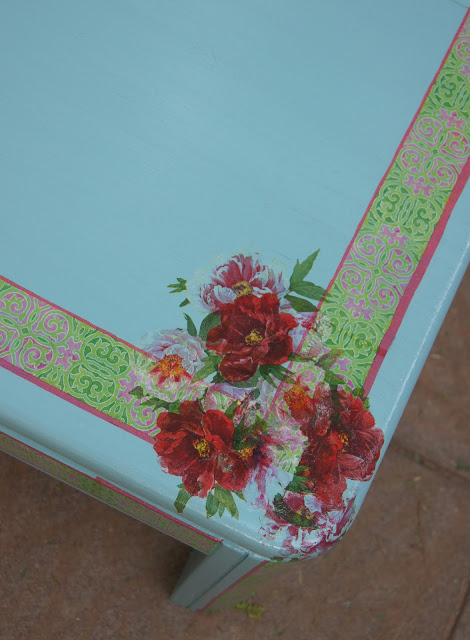
I recently purchased a couple of tables from
my local Goodwill and decided to redesign them.
Unfortunately I didn't get a before picture, but
they were both plain wood with a medium stain.
I decided to do a paint and paper napkin decoupage
design on both of them.
This is how the end table turned out.
Here's a shot of the coffee table and end table together.
The paint color is a pretty robin's egg blue that
I picked up from the "oops" paint shelf at Home Depot for $2.00.
I can't go into Home Depot without checking out
the "oops" paint shelf. It's a great way to stock up
on your paint supply.
I watched a couple of Youtube videos on decoupaging
with paper napkins. I gleaned a couple of take
away tips from watching those tutorials and came
up with a tip or two of my own.
Most decorative paper napkins have 3 layers. Try
and use just the very top, thin, almost transparent layer.
The second tip was to use a sheet of plastic wrap to
stretch over the top of your freshly glued design to
press out any air bubbles.
I also discovered using
an artists paint brush and starting in the center
of your design (over the plastic wrap) to brush
out the air bubbles worked well. Using the
handle of the paint brush as a rolling pin
also worked to smooth out the design.
Happy Creating!


No comments:
Post a Comment